Starting a session
To launch a Mybys session, click on Start, on the ribbon or the icon. You can choose to share your screen (Screen) and/or your webcam (Video), and select an audio mode : Mybys (VoiP and phone) or WebCall (dial-in to a hybrid full conferencing bridge). You can also add a password for additional security.
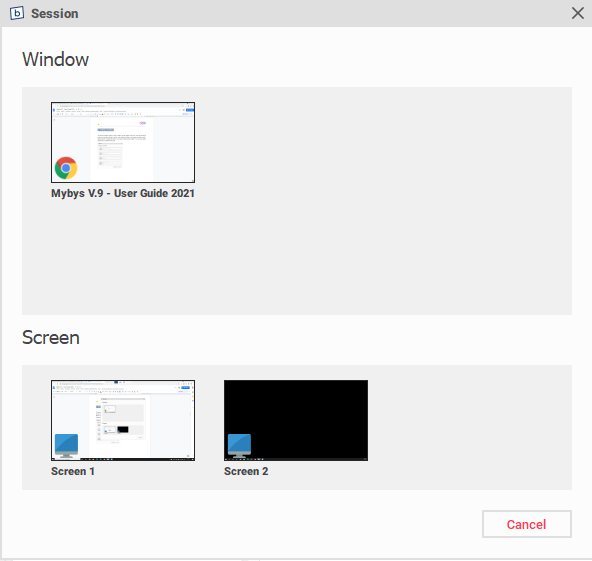
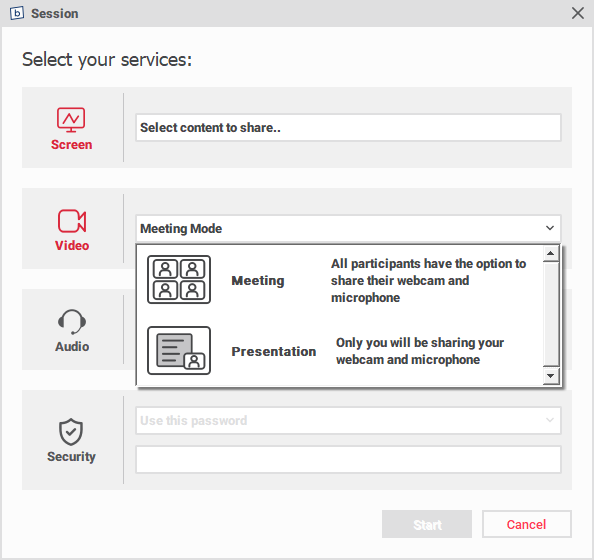
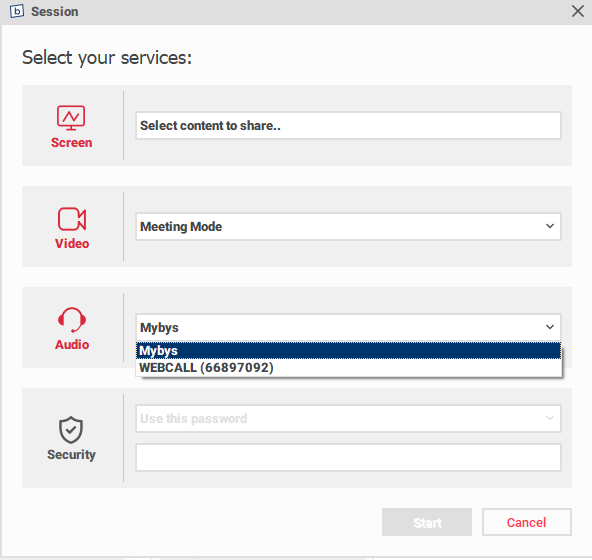
In Screen you can select to share either a specific window or a specific monitor. In Video, you can choose between two modes : Meeting or Presentation. In Audio , you can opt to use Mybys (VoIP) or WebCall, a hybrid conferencing bridge.
For the purpose of this user guide, you, as the host, chose to share your screen (Screen) and webcam (Video), and to use your computer’s microphone (VoIP) to talk with the participants. Once such choices are made, click on Start.
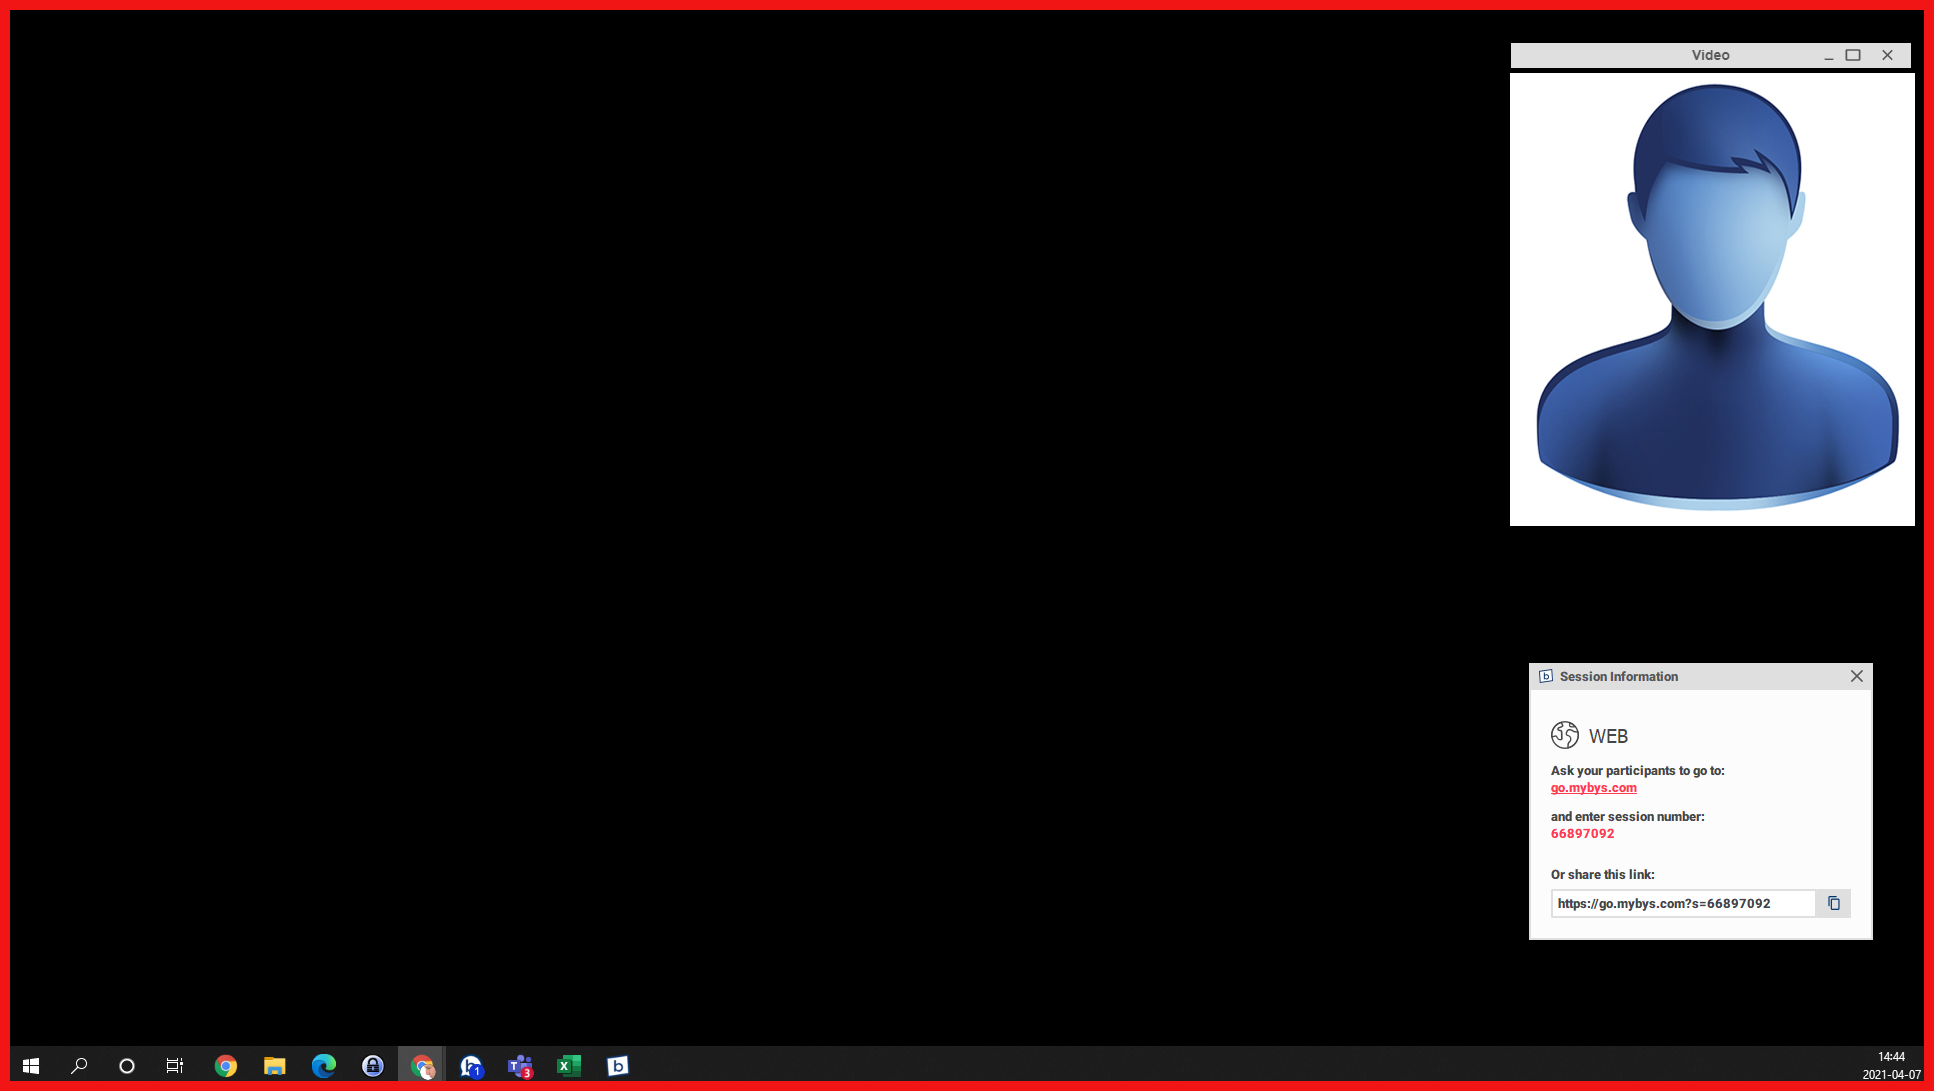
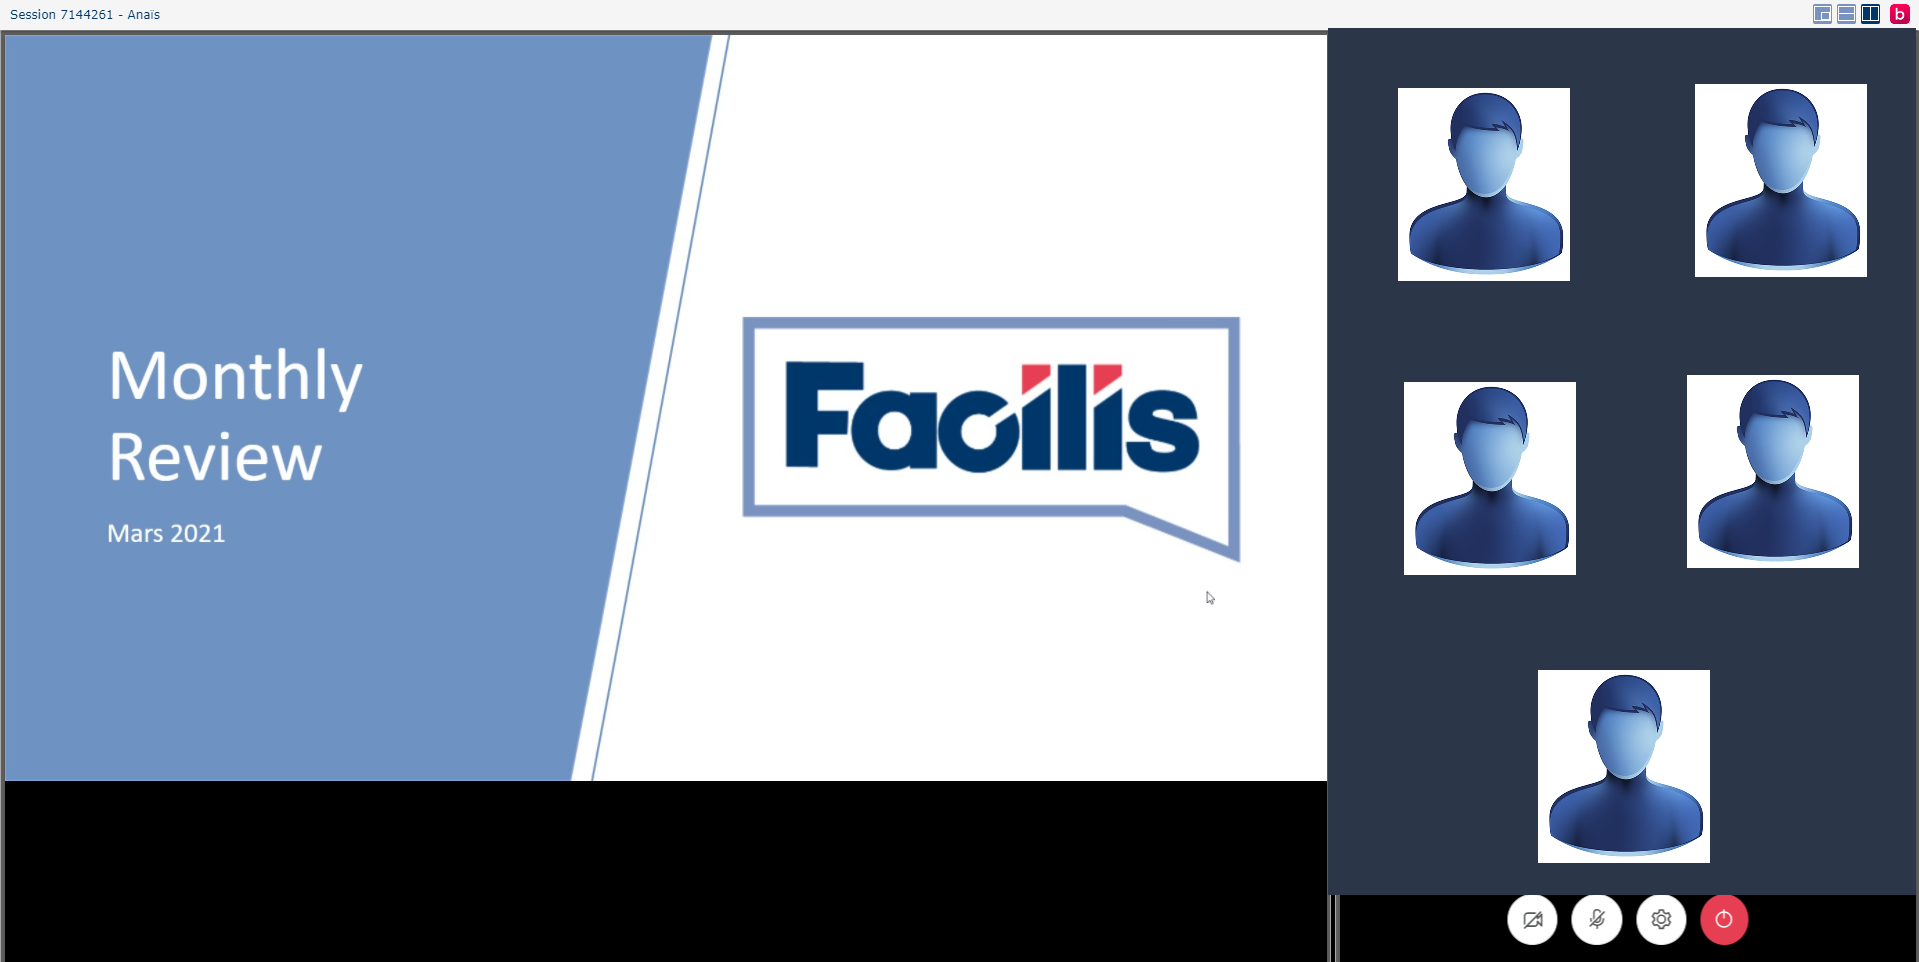
As soon as you click on Start, the shortcut bar shows additional features, available or not depending on your organisation’s licence plan; The Webcam window appears at the top right of the screen, along with the Session Information window and the participants list.

Screen allows you to change content and add a back monitor. Video allows you to keep the webcam on top of the screen. Audio allows you to switch from VoIP to WebCall - a hybrid professional conferencing bridge. Annotate gives you control of an annotation tool. Record allows recording of a session - sound and image.
Screen Sharing
Upon starting a session, you can choose to share an entire screen or a specific application. For the purposes of this guide, the host has chosen to share an entire screen. Once in session, the entire border of the screen is red, confirming that it is being shared, and the Webcam video feed appears at the top right.
As soon as your participants join the session, they can use a color pointer. If they use a computer, they can do so by left-clicking on their mouse; if they use a tablet or a smartphone, they can tap on their device screen.
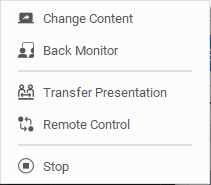
If you click on Screen, you have the following options:
Change Content |
Switch screen to share or choose an application |
Back Monitor |
To view what your participants see |
Transfer Presentation |
Make someone else the presenter |
Remote Control |
To get help technical support or collaborate on a document |
Video
For the purposes of this guide, the host has chosen the Meeting mode (natural conversation). The Presentation mode, where only the host’s webcam is shared, is also offered upon starting a Mybys session.
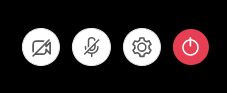
Placing your mouse on top of the WebCam feed makes the following icons appear, allowing you to activate the webcam, the microphone, to select another microphone or webcam, and to leave the session.
You can use your webcam in full screen mode by clicking on the square at the top of the webcam window. Screen sharing will not be interrupted by this action.

Using two monitors
It is possible to use two monitors , one for screen sharing and one for video. All you have to do is drag the webcam window to the other monitor, or vice versa.
What your participants see
Participants have nothing to install in order to join a session. While in conference, your participants have access to three icones located at the top of the screen, offering different displays.

Audio
When you start a Mybys session, you have the choice between two audio modes:
Mybys (per default)
VoIP acces (computers and tablets)
PSTN access (phones), ideal for small groups
WebCall - Hybrid full conference bridge
Up to 1500 participants
Control panel
Monitor and manage live conferences
View usage history and download recordings
Modify default settings
Maintain a Caller List (optional)
For more details on the WebCall Conference bridge, consult the WebCall user guide.
Annotate
While in session, when you click on “Annotate”, you can use a large colored pointer that can be affixed to the screen with a click of the mouse, a pen (and color chart), and an eraser.
Please note that, as soon as your participants join the session, they can use a color pointer with their own device. If they use a computer, they can do so by left-clicking on their mouse; if they use a tablet or a smartphone, they can tap on their device screen.
Record
When you click on RECORDING , you will be asked if you want to record audio as well as video. If so, follow the ensuing instructions. Please note that you need to use the audio conferencing bridge in order to record the audio. Your recording will be available under Client Access in the Recordings section no later than 24 hrs following the session.